
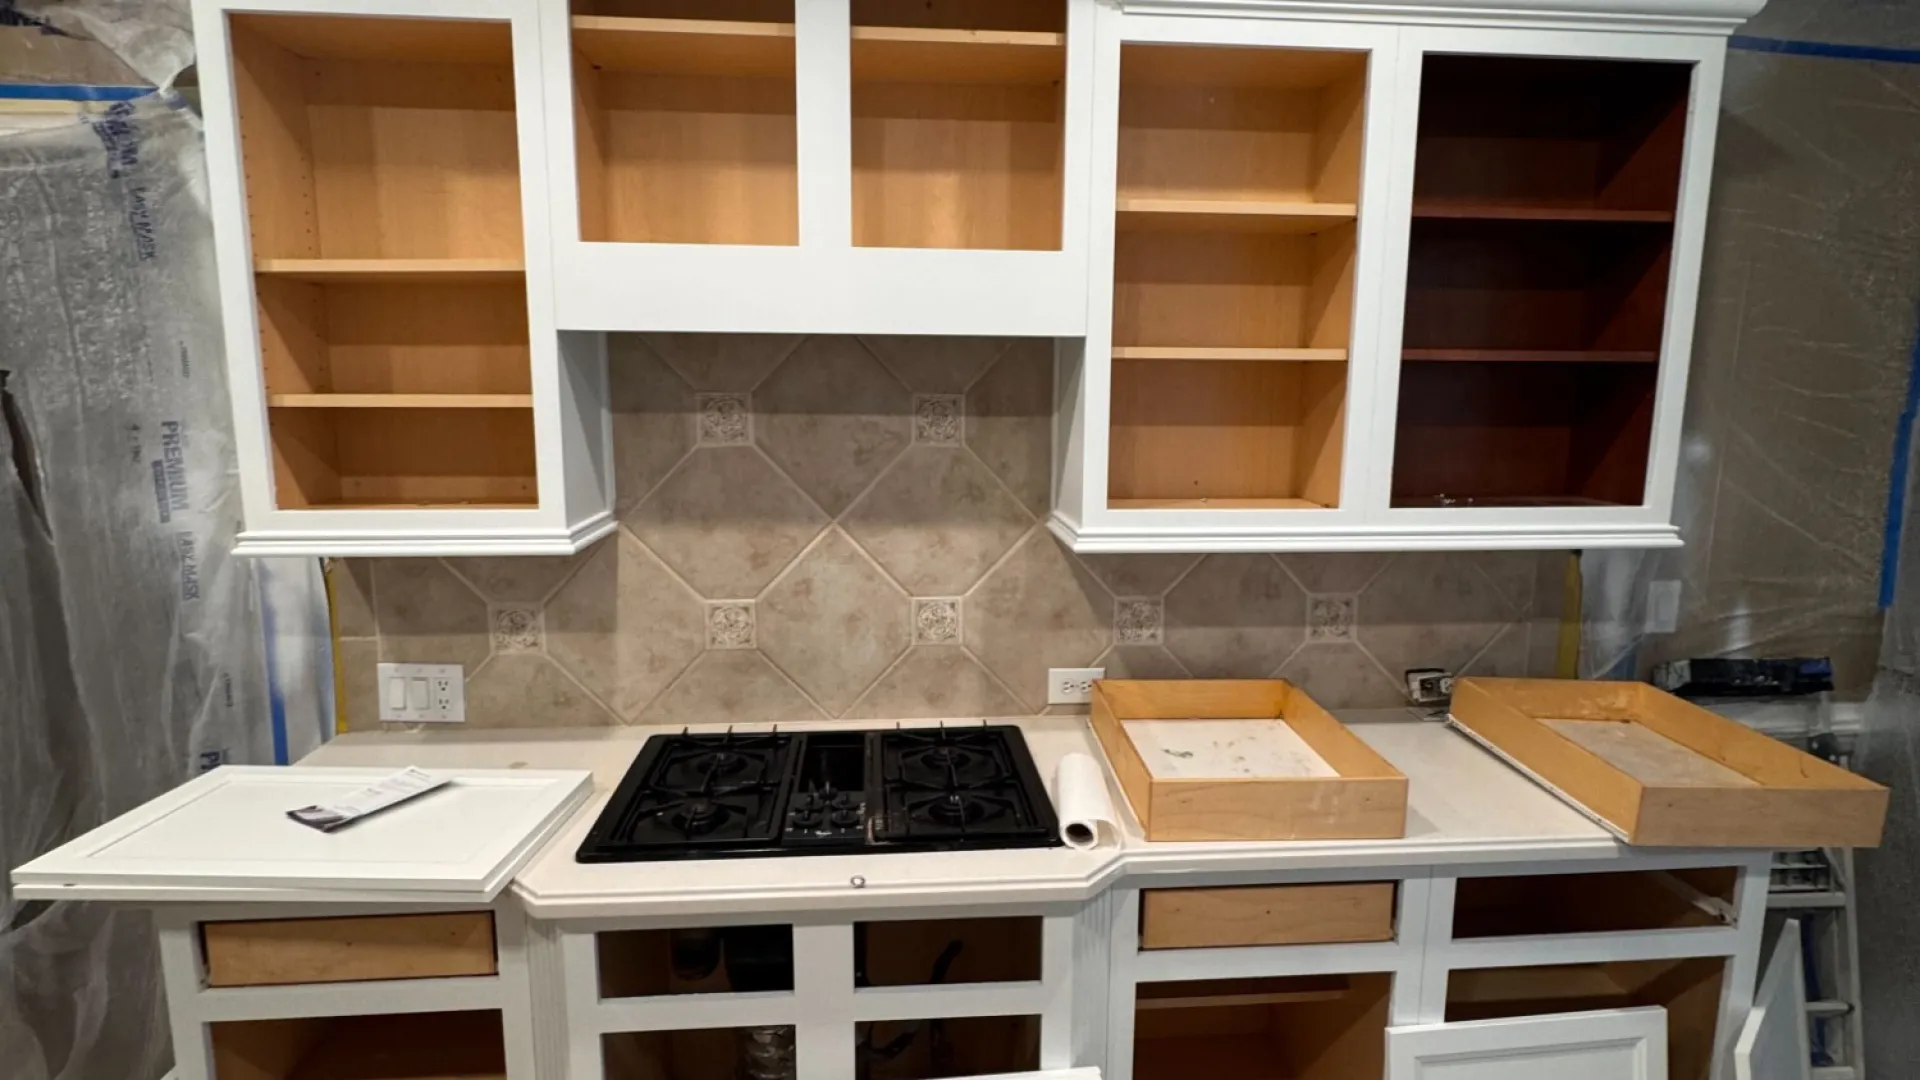
What to Expect During Your Cabinet Project
We know letting a crew into your home is a big deal. Here's a clear and honest look at everything that happens.

Before Your Project Starts
The 3–5 days leading up to your appointment
Confirmation & prep guide sent
- You'll receive a detailed email confirming your appointment date, your technician's name, and a prep checklist.
Clear out your cabinets
- Remove all dishes, cookware, food, and items stored inside your cabinets and drawers. You won't have access to them during the project, so plan meals accordingly. Counter appliances should also be moved to another room or tucked away
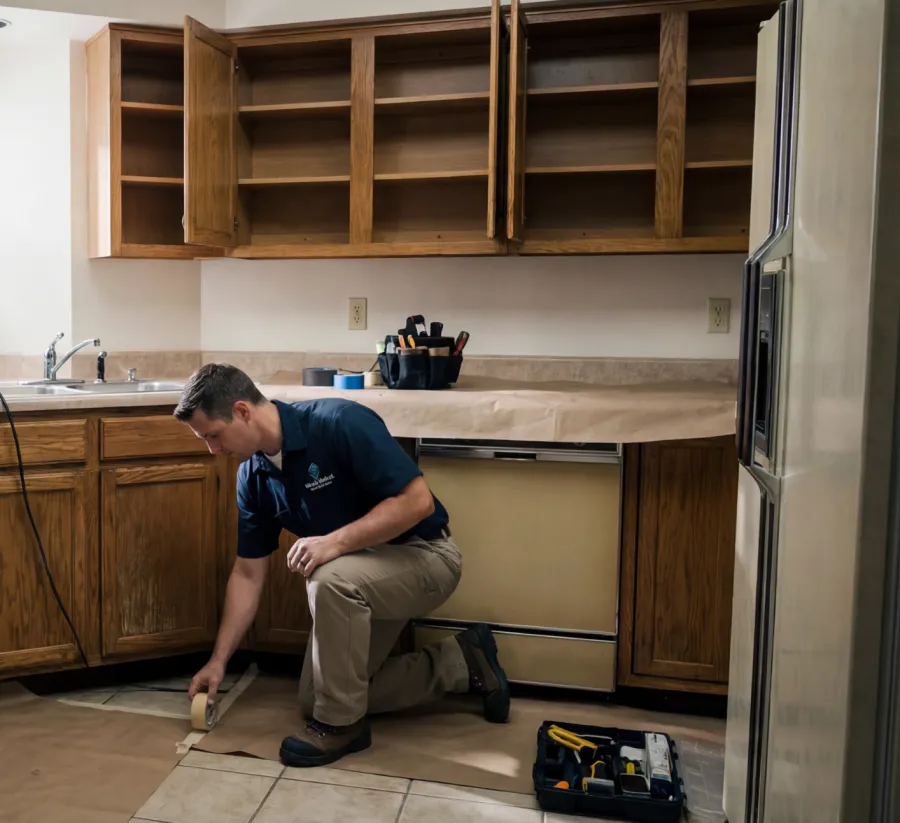
During Your Project
What happens the day our team arrives
Arrival & walkthrough
- Your technician arrives within the scheduled window and does a quick walkthrough with you. We cover floors and adjacent surfaces with protective materials before touching anything.
Doors removed & hardware pulled
- All cabinet doors, drawers, and hardware are carefully removed and labeled. This ensures perfect reinstallation and allows us to coat every surface evenly
Cleaning & prep
- Every surface is thoroughly degreased. This adhesion step is what separates a professional result from a DIY job. We never skip or rush this stage, proper prep is the foundation of a finish that lasts.
Miracle Method coating applied
- Our proprietary refinishing system is applied in controlled, even coats. Depending on your chosen color and finish, multiple coats may be applied with cure time between each. Our technicians are trained specifically for cabinet work.
Reinstallation & final inspection
- Once cured, all doors, drawers, and hardware are reinstalled and aligned. Your technician does a final walk-through with you to confirm you're happy with every detail. Any touch-ups needed are handled on the spot before we leave.

Work Hours
Our team typically works standard business hours (8am-5pm) to complete your project efficiently while respecting your home environment.
What You'll See: - Professional work standards and attention to detail - Clean, organized work area with protective coverings - Proper safety equipment and procedures

After Your Project
The first 72 hours and beyond
Let it cure
- Avoid wiping, scrubbing, or placing objects against the finish for the first 24 hours. The coating is dry to the touch but still hardening
Gentle use only
- Light, careful use is fine after 24 hours. Avoid harsh cleaners, rough sponges, or heavy impact until 72 hours have passed.
Enjoy your kitchen
- After 72 hours, your finish has reached full hardness. Clean with mild soap and a soft cloth. Avoid ammonia-based products.
Built to last
- With normal care, your Miracle Method finish is designed to hold its color and durability for years.